IoT Gateway - Industrial Protocol Conversion Data Acquisition Gateway
Product Details
1 Product Overview
1.1 Function Overview
The IOT Gateway is an industrial protocol-conversion data-acquisition gateway from Shanghai Daq-IoT Technology. It supports Modbus to MQTT+JSON conversion and can connect to a cloud server over MQTT. Configured through a graphical interface, it independently acquires data from mainstream industrial PLCs, Modbus meters and DLT645 smart electricity meters and uploads it to a cloud server in JSON format. It can also work as an ordinary transparent-transmission serial server and Modbus gateway. It provides Ethernet / 4G / Wi-Fi interfaces and RS232/485/422 serial ports.
1.2 Protocol Support
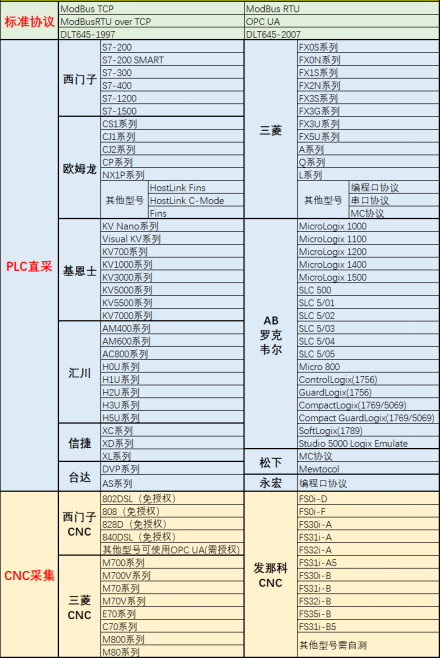
Note: the above is not the complete set of protocol drivers; new protocols are being developed continuously.
For the latest protocol list, see:
DAQ-IoT Data Acquisition Protocol Driver List
https://kdocs.cn/l/cddPp7qYeMXs
3 Core Advantages
- Simple installation and fast deployment, helping IoT projects go live quickly
- Compatible with any IoT cloud platform or SCADA configuration software, with data-protocol integration provided
- Supports mainstream cloud platforms such as Alibaba Cloud
- Supports writing data directly to a database
4 Product Parameters
Electrical characteristics:
- Power supply: 9-24V wide voltage (center positive, standard power socket; two-wire terminal)
- Operating power consumption: less than 5W
Communication protocol:
MQTT/TCP/UDP/HTTP/Modbus RTU; other protocols can be customized
Structural characteristics:
Dimensions: L x W x H = 109 x 87 x 45 mm
Operating environment:
Temperature: -40 to 85 degC
5 Data Reporting Communication Protocol
5.1 Protocol Parsing
Data can be pushed in several ways, including UDP/TCP/MQTT/HTTP; the user provides the server IP address and port for data reception.
Example of a JSON data message (the exact format depends on the device being acquired):
{"ID":"866714044842879","XXX":3456.71}Message parsing:
{
"XXX": 3456.71,             // acquired physical quantity
"ID": "860344048491162"     // device ID
}
5.2 Protocol Reception Test
Reception can be tested with the network debugging assistant NetAssist.
5.3 Protocol Customization
To customize other communication protocols, please contact our sales team.
6 Quick Start Guide
How to get started quickly with the IOT Gateway industrial protocol-conversion data-acquisition gateway.
6.1 Preparation
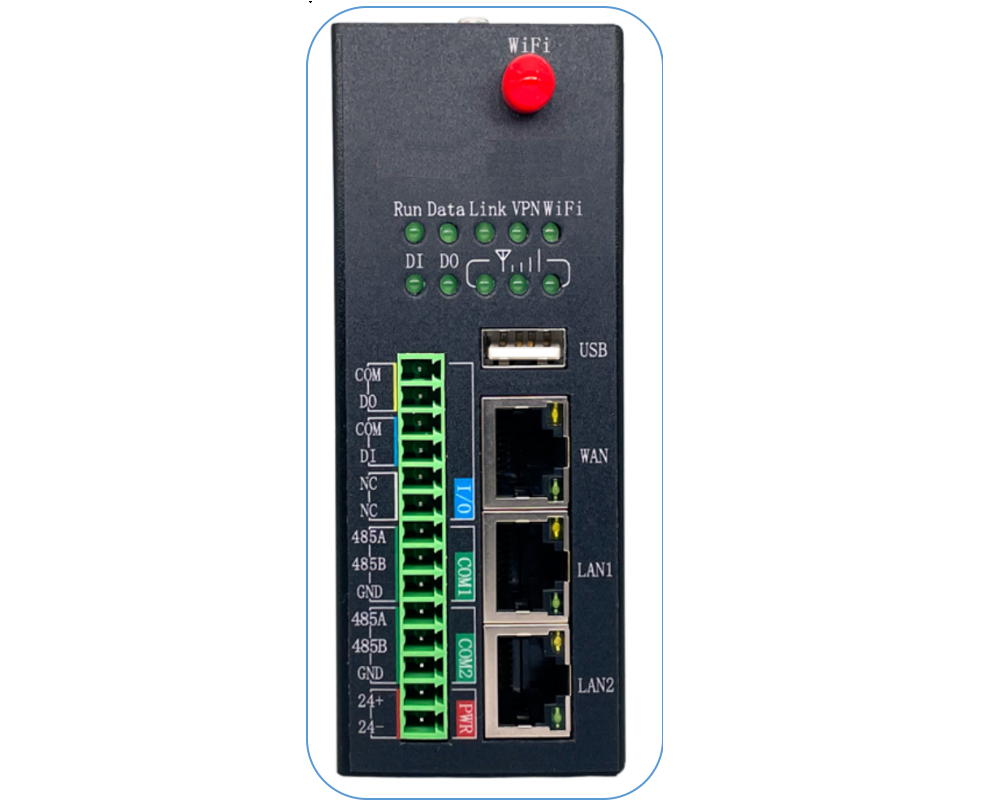
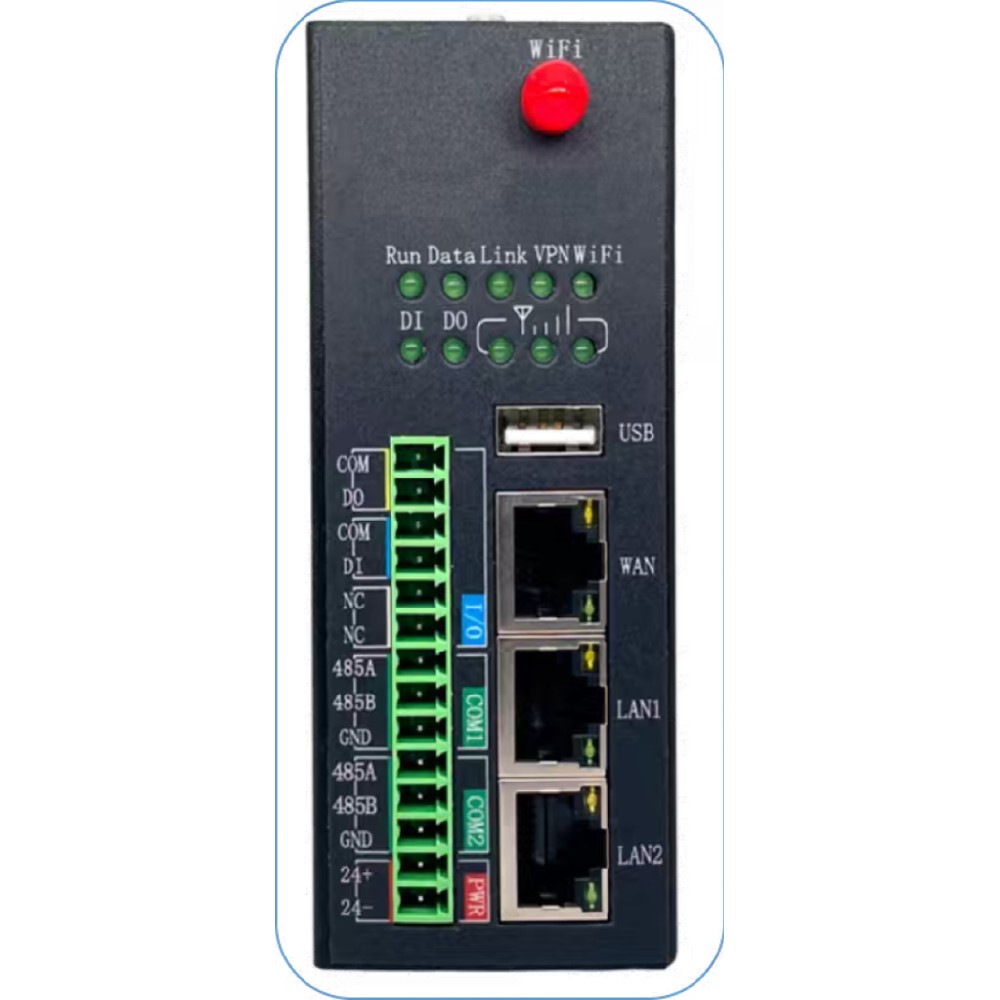
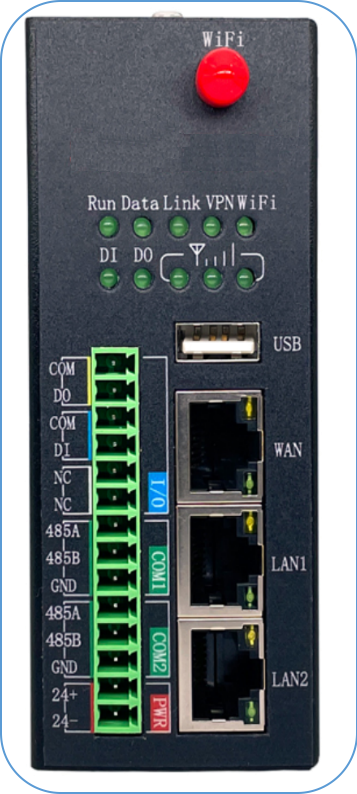
- A 9V-36V DC power supply; connect the positive and negative leads to the 24+ and 24- terminals of the gateway respectively.
- A network cable; plug one end into LAN1 or LAN2 of the gateway and the other into a computer.
- To use 4G, prepare a 4G data SIM card and insert it into the slot on top of the gateway (no 4G card is needed if 4G is not used).
- Install the supplied antenna on the gateway.
6.2 Power-on
After the preparation, power on the gateway. After about 15 seconds the Run light starts blinking. Wait about 10 more seconds before proceeding.
Shanghai Daq-IoT Technology Co., Ltd.
6.3 Gateway Initialization
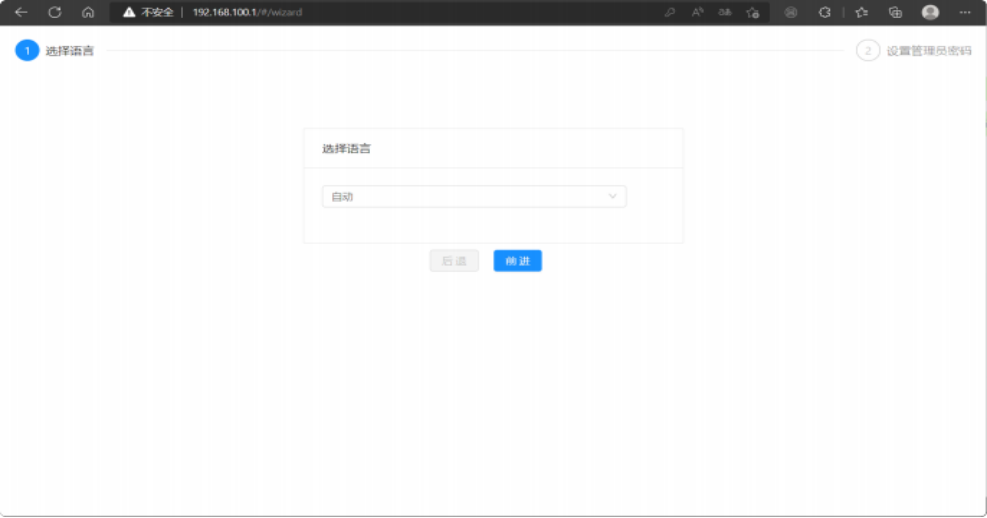
- Connect LAN1 or LAN2 of the gateway to a computer with a network cable. Open a browser and enter 192.168.100.1 in the address bar to enter the gateway management interface.
- On first entry the web interface runs an initialization process. First select the language; “Auto” is the default.
- Next, configure the user password. Note: only the password is configured; the user name cannot be changed and is fixed as “admin”.
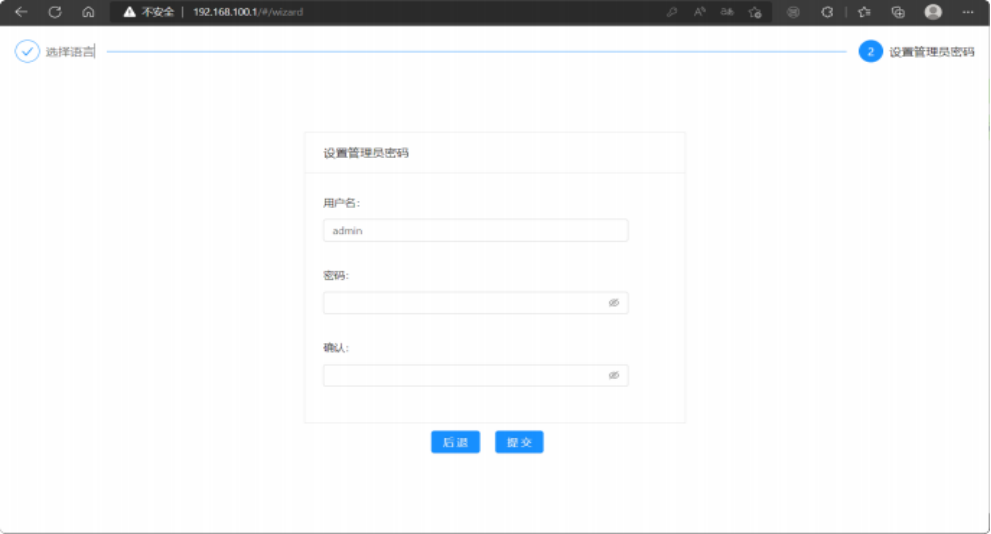
- Click Submit to complete the gateway initialization. Important: remember the password. If you forget it, the gateway can only be reset and all configuration will be lost.
6.4 Entering the Configuration Interface
All gateway functions can be configured in the management interface. First, log in with the password you just set.
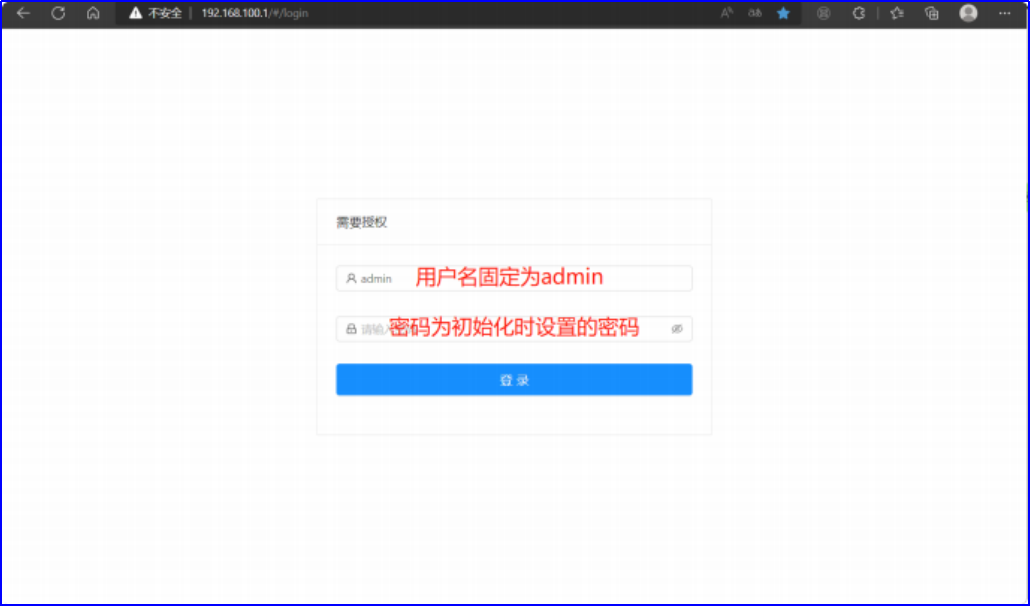
The gateway management interface appears:
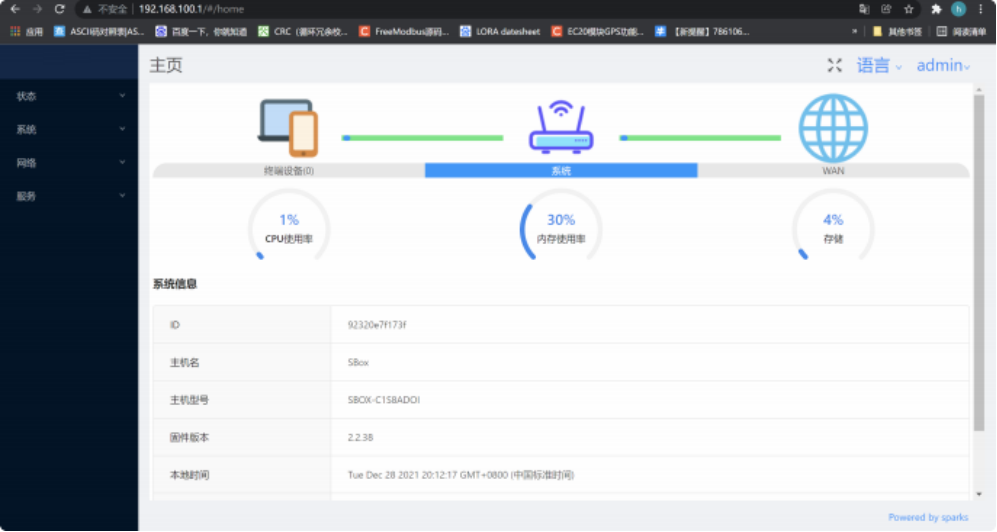
Gateway configuration interface
6.5 Data Acquisition
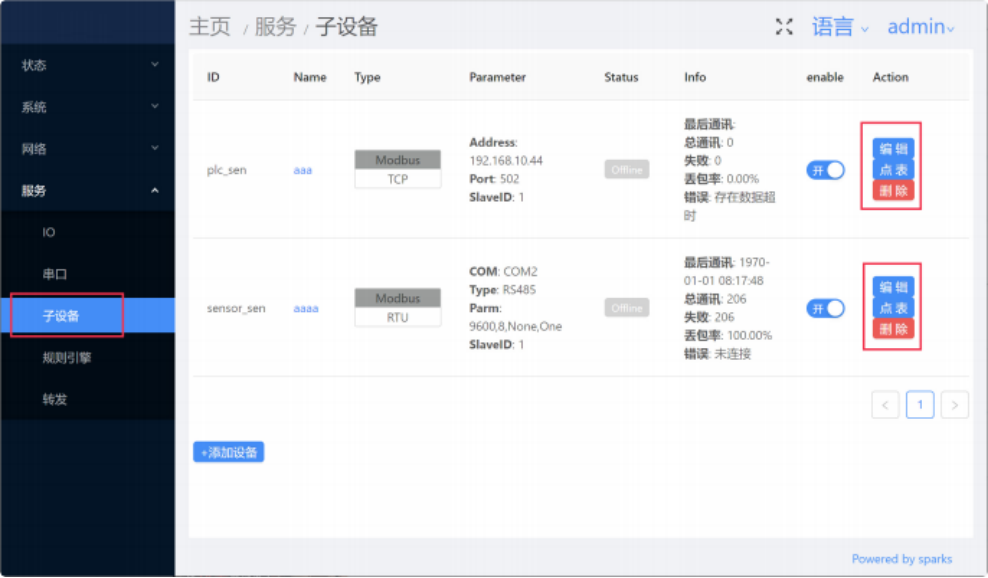
In the gateway management interface, click Services - Sub-device in the left-hand menu to add a sub-device. Add it according to your device model. Click the sub-device point-table button to add a point table.